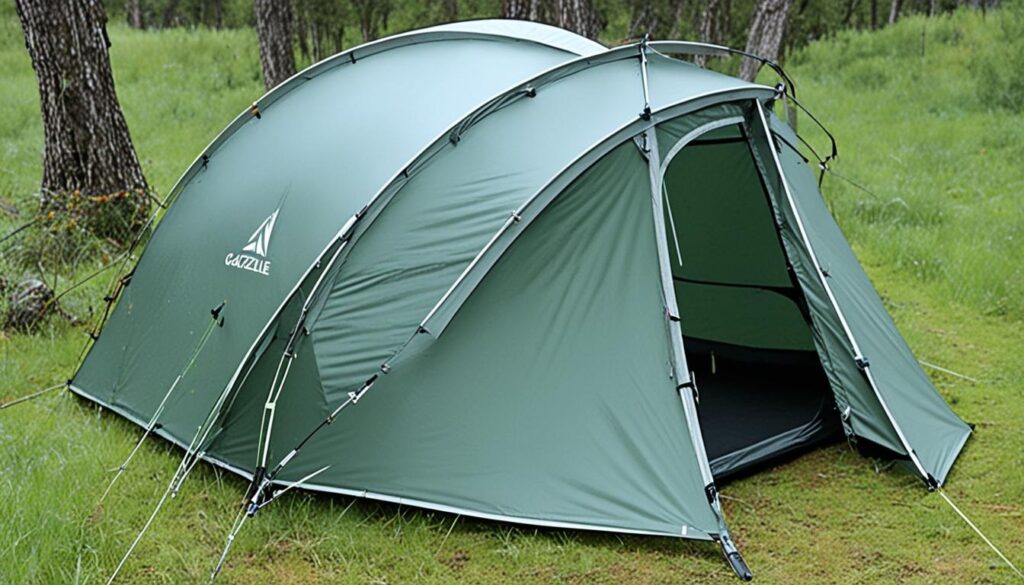
Did you know the Gazelle tent’s fabric is flame resistant and meets CPAI-84 specs1? This means you can enjoy your outdoor adventures safely. This guide will show you how to set up your Gazelle tent easily. You’ll be ready for a weekend camping trip or a long outdoor adventure in no time.
Setting up the Gazelle tent is simple. Just stake down both corners through the grommets for stability in windy conditions1. It also has detachable floors and overhead gear lofts for versatility1. To open the side walls, grab the webbing loop sewn on the eyelet1. Then, walk around the tent and pull out each webbing loop to open all the walls1. The tent comes with ground stakes and a storage bag for easy setup1.
The Gazelle tent is a favorite for camping and outdoor activities2. It comes with a one-year warranty for both personal and commercial use, showing the brand’s quality and care for customers2. The safety tips and focus on durability against UV rays show Gazelle’s dedication to outdoor enthusiasts2.
Preparing for Tent Setup
Before you start setting up your Gazelle tent, pick a good campsite. Look for a spot that’s level and free of debris or sharp things that could harm the tent3. Make sure it’s not under trees or near power lines to avoid safety risks from falling objects or lightning3. Setting the tent’s narrow end into the wind helps make it easier to set up in windy weather3.
Finding a Suitable Site
Choose a campsite that’s level and clear of obstacles for a smooth setup and a safe stay3. Once you’ve picked the perfect spot, check for any issues like overhead obstructions or windy conditions that could affect your tent3.
Unpacking the Tent Components
After picking your campsite, unpack your Gazelle tent. Start by taking the tent out of its bag and untying the strap. Lay it flat, making sure the poles aren’t twisted or overlapping. Don’t fold or unfold the tent too hard to avoid pole problems and damage3. The Gazelle tent has many parts, like the main tent, rain fly, floors, and gear lofts. Get to know each piece before you start setting it up4.
“Proper preparation is the key to a successful and stress-free tent setup. Take the time to choose your campsite wisely and unpack your gear with care.”
How to Set Up a Gazelle Tent
Setting up a Gazelle tent is easy and can be done in a few steps. Start by finding the webbing loop on the tent wall’s center and pull it out. For extra help, use your foot on the bottom seam to open a side wall.5 Then, walk around the tent and pull each webbing loop to open all the walls5.
Raising the Tent Roof
Now, the tent stands on its own6. Go inside through the zippered door. Find the roof hub and push up with one hand until it sets6. Be careful, as the roof has a lot of tension.
“The Gazelle T4 Hub Tent Overland Edition offers a spacious 61 square feet of floor space and a height of 78 inches, accommodating up to four occupants comfortably.”6
The Gazelle T4 Plus tent has detachable rain fly, floors, and overhead lofts5. It also comes with ground stakes and a storage bag for easy transport and setup5. You’ll use grommets and hook and loop ties to secure the poles and seams5.
The Gazelle T4 Hub Tent can be set up or taken down in under 90 seconds thanks to its hub design6. The tent shell is made of 210 denier polyester, waterproof up to 2000MM HH, keeping you dry6. The floor is 300 denier polyester, waterproof up to 5000MM HH, for extra durability67.
Installing Additional Tent Features
Now that the main tent is up, it’s time for the detachable rain fly. This fly is key to keeping you dry and comfy, even when it’s raining8.
Attaching the Rain Fly
Start by putting the rain fly over the tent roof. Make sure the short poles are on the underside. Then, at one corner, connect the male end of the poles with the female end of the roof pole. Do this for all four corners.
After that, go inside the tent and push up the roof panel. Secure the rain fly’s hooks to the hub loops on each wall. This makes a tight seal and keeps the fly in place.

These easy steps will help you attach the rain fly quickly. With the tent’s strong structure and the rain fly on, you’ll stay dry and comfy, no matter the weather8.
Securing and Anchoring the Tent
After setting up your Gazelle tent, make sure it’s securely fastened to the ground. This is key for keeping your tent stable and strong, especially when it’s windy or raining9.
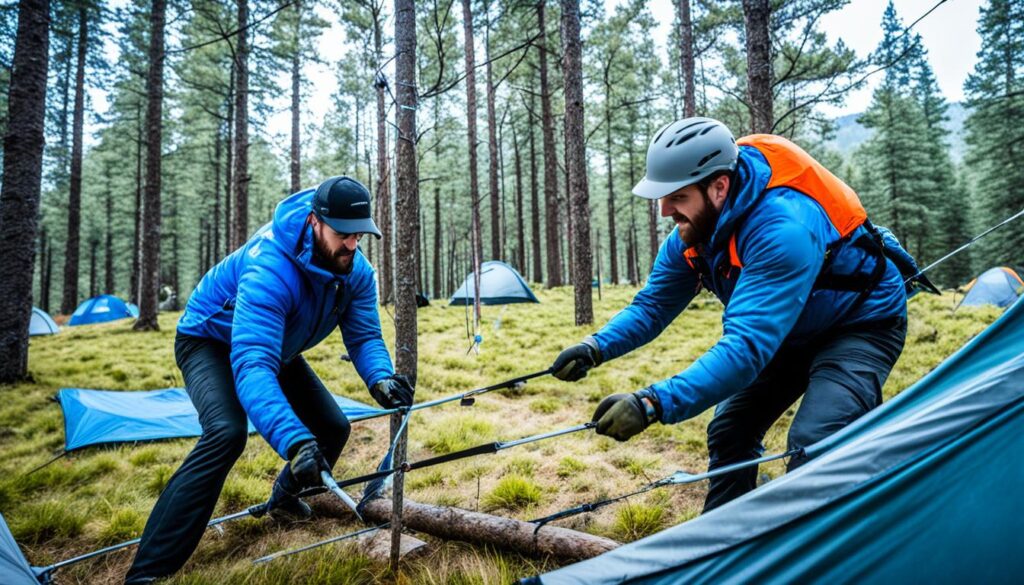
First, go outside and find the grommets at each corner of the tent. Then, hammer the stakes through these grommets, making sure they go deep into the ground. The Gazelle T4 tent has 12 stakes for the main anchor points. But, you might need more for rocky or uneven ground9.
After that, tie the ropes to the stakes and adjust them for the right tension. This keeps the tent steady and stops it from moving or falling down in the wind9.
“Proper anchoring is essential for the stability and performance of your tent, especially in challenging conditions.”
The Gazelle tent is very strong, but making sure the ropes are tight is key. This makes it work better and last longer9410.

By securing the tent well, you can be sure it will handle any weather. This means you’ll have a safe and cozy place to stay, no matter what the weather brings9410.
Conclusion
Now that your Gazelle tent is set up and secure, you’re all set for your outdoor adventure. This tent, priced at $479.0010, offers both comfort and reliability. It’s perfect for weekend camping trips or longer journeys.
The Gazelle tent’s hub design makes it easy to set up in just 90 seconds1112. It’s also super light, weighing almost 50 pounds10. Plus, it has lots of storage space with multiple windows and compartments10. This makes it a great pick for your camping and outdoor adventures.
With the steps from this guide, you can easily set up your Gazelle tent. Then, you can start making memories in the outdoors. Let this Gazelle tent be your home base for your outdoor adventures.
Recommended
- BEST BED TENT TO BLOCK OUT LIGHT FOR SLEEP
- BED TENT FOR TRAVEL: SLEEP COZY ON-THE-GO
- INDOOR BED TENT FOR CAMPING COMFORT & FUN

Meet Noah, the soul behind “Best Inflatable Tent” and a true wanderer at heart. Living the van life, Noah has turned his passion for exploring the great outdoors into a lifestyle, earning his living through organizing group travels that bring people closer to nature. With years of firsthand experience in the wild, Noah’s expertise in selecting and utilizing inflatable tents is unparalleled. Through this blog, he shares his profound knowledge and practical tips to help fellow adventurers find their perfect outdoor shelters. Noah’s commitment to delivering genuine, tested insights has made him a trusted authority in the camping community. Join him on this journey to discover the best inflatable tents that make the great outdoors feel like home.