Picture this: you’ve finally arrived at your favorite campsite, excited to immerse yourself in nature and enjoy some quality time with loved ones. As you start setting up your inflatable tent, a sinking feeling sets in. You notice a small puncture in the fabric, threatening to deflate your plans for a memorable camping experience.
Don’t panic! Repairing a puncture in your inflatable tent is easier than you might think. With a few simple steps, you can fix that hole and get back to enjoying the great outdoors in no time.
Key Takeaways:
- Repairing a puncture in your inflatable tent is a straightforward process that can save your camping trip.
- DIY inflatable tent repair is possible with the right techniques and tools.
- Regular maintenance and proactive measures can help prevent future punctures and extend the lifespan of your tent.
- Be prepared by having an inflatable tent patch kit on hand for quick repairs in the field.
- Following proper care and maintenance guidelines can ensure your inflatable tent remains durable and reliable for years to come.
How to Repair an Air Tube in Your Inflatable Tent
If you have to repair an air tube in your inflatable tent, it is important to follow these steps:
- Remove the air tube from its protective sleeve and identify the punctures or slits.
- Clean the area and cut out a patch using Tear Aid Type A or similar repair tape.
- Stick the patch onto the air tube, ensuring there are no air bubbles.
- For repairing a split connecting tube, clean the area and wrap it with Tear Aid Type A, then reinforce the repair with self-amalgamating tape.
- After completing the repairs, re-inflate the air tube and check for any air loss.
It’s important to note that these repairs should be done temporarily, and a replacement tube should be arranged as soon as possible.
| Materials Needed | Repair Tape | Self-Amalgamating Tape |
|---|---|---|
| Product Name | Tear Aid Type A | N/A |
| Brand | Tear Aid | Various Brands |
Why You Should Have Spare Air Tubes for Your Tent
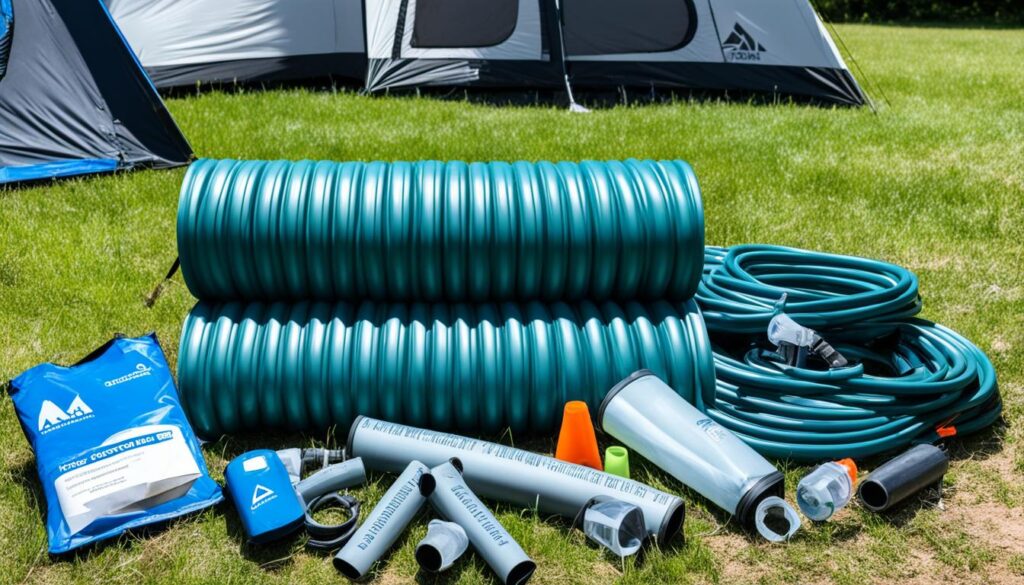
It is highly recommended to have spare air tubes for your inflatable tent. While air tubes are designed to be durable, accidents can happen, and having a spare tube ensures that you can quickly replace a damaged one. Spare air tubes are easy to carry and can save you from having to end your camping trip prematurely. Punctures in air tubes are rare, but they can be caused by sharp objects or improper setup. By being proactive and having spare tubes on hand, you can easily replace a damaged tube and continue enjoying your outdoor adventures.
When it comes to inflatable tents, having spare air tubes is a smart investment. While these tents are known for their durability, unexpected incidents can occur, such as a puncture or damage to the air tubes. In such situations, having spare air tubes readily available can be a game-changer. It allows you to quickly replace a damaged tube and prevent any disruption to your camping experience.
There are several benefits to having spare air tubes for your tent. Firstly, it provides peace of mind knowing that you have a backup plan in case of any unforeseen circumstances. Instead of worrying about how to fix a punctured tube on the spot, you can simply swap it out with a spare and get back to enjoying your trip.
Additionally, having spare air tubes eliminates the need to cut short your camping adventure due to a damaged tent. Instead of packing up and heading home, you can easily replace the faulty tube and continue your outdoor activities. This is especially crucial if you are in a remote location without easy access to replacement parts or repair services.
Furthermore, spare air tubes are lightweight and portable, making them easy to carry in your camping gear. They don’t take up much space and can be conveniently stored in your backpack or vehicle. This means that you can be prepared for any potential tube damage without adding unnecessary bulk or weight to your camping essentials.
Inflatable tents are designed to withstand various weather conditions and terrain, but accidents can still happen. Punctures can occur due to sharp objects on the ground or improper setup and handling. By having spare air tubes, you can quickly address any damage without wasting time or compromising the integrity of your tent.

How to Replace an Air Tube in Your Tent
If you need to replace an air tube in your inflatable tent, follow these steps:
- Deflating the Tube: Begin by deflating the damaged tube completely. This will make it easier to remove from the protective sleeve.
- Removing the Protective Sleeve: Once the tube is deflated, carefully remove it from the protective sleeve. Take note of any attachments or connectors that may need to be detached.
- Inserting a New Tube: Take the new tube and insert it into the sleeve, ensuring that it is not twisted. Pay attention to the alignment of any attached valves or connectors.
- Securing the Tube: Once the new tube is inserted, attach any valves or connectors and secure the tube in place. Make sure that it is fitted snugly to prevent any air leaks.
- Adjusting Excess Lining: If the new tube is longer than needed, fold or roll the excess lining to fit within the casing. This will ensure a tidy and compact fit.
- Zipping Up the Sleeve: Carefully zip up the protective sleeve, making sure not to snag or damage the new tube.
- Inflating the Tube: Finally, insert the air tube back into the tent sleeve or flysheet. Align the valves properly and fully inflate the tube to the recommended air pressure.
It’s important to note that replacing an air tube should be done when you return from your camping trip, as temporary repairs can be made on-site. This will allow for a more thorough and secure replacement of the tube.

Ensure to follow the manufacturer’s instructions and guidelines for your specific tent model when replacing an air tube. If you are unsure or need assistance, it is always recommended to consult with the tent manufacturer or a professional camping equipment retailer.
How to Find and Repair a Leak in Your Tent
If you suspect a leak in your inflatable tent, it is crucial to locate and repair it promptly to ensure optimal performance during your outdoor adventures. Follow these step-by-step instructions to find and fix the leak:
- Pump in more air: Inflate your tent to its maximum capacity. Observe the tent closely and look for visible damage, such as holes, tears, or punctures. Check the air tubes, seams, and valves for any signs of air escaping.
- Perform a thorough visual inspection: If you can’t identify the leak by sight, carefully listen for hissing sounds which may indicate the location of the leak. Alternatively, apply a small amount of soapy water on the suspected area. Bubbles will form if a leak is present.
- Deflate the tent: Once you have located the damaged area, deflate the tent completely to prepare it for repair. Open the sleeve zip to gain access to the air tube.
- Mark the damaged area: Clean the area around the leak, removing any dirt, debris, or moisture. Use a marker or chalk to mark the exact spot where the leak is located. This will ensure accurate patch or tape placement.
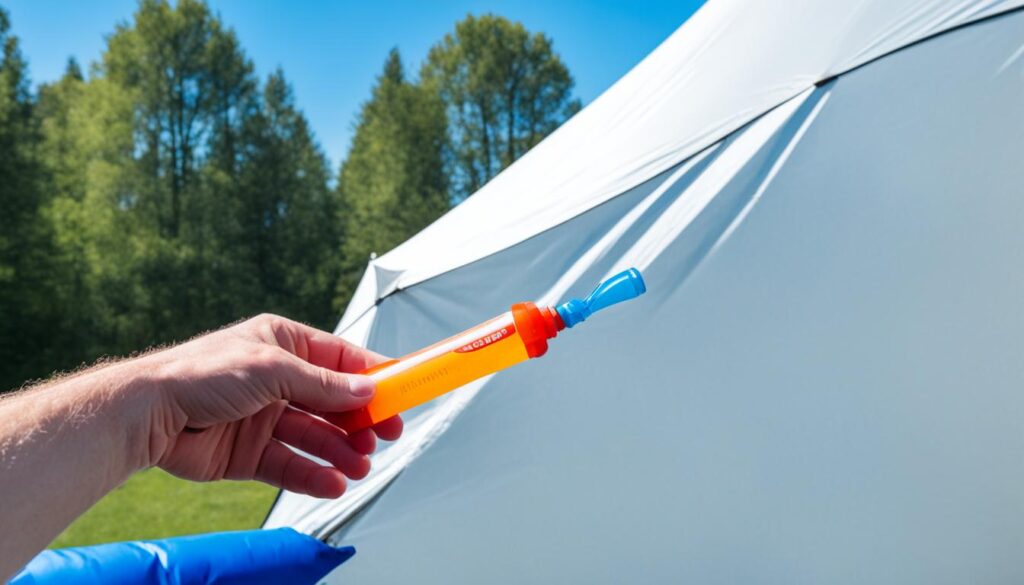
- Apply a patch or tape: Depending on the size and type of damage, you can use a tent repair patch or specialized repair tape designed for inflatable tents. Follow the manufacturer’s instructions to apply the patch or tape directly over the marked area, ensuring a tight seal.
- Test the repair: Before re-inflating the tent, carefully inspect the repair to ensure it is secure and well-adhered. To test the repair, you can add a small amount of air to the tent and monitor for any signs of air escaping. If no air leakage is detected, you can confidently proceed to fully inflate the tent.
By following these steps and conducting regular checks of your inflatable tent, you can promptly locate and repair leaks, ensuring a comfortable and reliable camping experience.
Tips for Proactive Tent Maintenance
Taking proactive steps to maintain your inflatable tent can help prevent punctures and extend its lifespan. By following these tent maintenance tips, you can ensure that your outdoor adventures are free from unexpected disruptions.
1. Regularly Check Air Pressure
Checking the air pressure in your inflatable tent is essential for its proper functioning. Use a reliable air pressure gauge to measure the PSI (pounds per square inch) and adjust it as needed. If the air pressure is too low, your tent may not provide adequate stability. On the other hand, excessive air pressure can strain the seams and increase the risk of punctures. Striking the right balance is key.
2. Protect Tent Seams and Zippers
The seams and zippers of your tent are vulnerable areas that require extra care. Avoid excessive tension when setting up your tent to prevent unnecessary strain on the seams. Regularly inspect the seams for any signs of wear or damage, and promptly address any issues. Keep the tent zippers clean and lubricated with a silicone-based zipper lubricant to ensure smooth operation.
3. Avoid Sharp Objects
Before pitching your tent, thoroughly clear the camping area of any sharp objects that could potentially puncture the fabric or air tubes. Look out for rocks, branches, or debris that could cause damage. It’s better to spend a few extra minutes clearing the area than risking a punctured tent and compromised camping experience.
4. Proper Tent Storage
Protecting your tent during storage is just as important as using it on your camping trips. Store your inflatable tent in a dry and cool place, away from direct sunlight. Prolonged exposure to sunlight can weaken the fabric and cause it to deteriorate over time. Avoid storing the tent in damp conditions, as moisture can lead to mold and mildew growth. Additionally, make sure the tent is completely dry before packing it away to prevent the growth of mold or unpleasant odors.
By following these tent maintenance tips, you can greatly reduce the chances of encountering punctures or damage to your inflatable tent. Taking a little extra time to care for your tent will pay off in the long run, ensuring that it remains in optimal condition for many memorable camping adventures to come.
The Importance of Repairing Tent Tears and Broken Poles
Maintaining the functionality of your tent is crucial for a successful camping experience. Repairing tent tears and broken poles promptly can prevent further damage and ensure your tent remains in good condition for future trips.
The Consequences of Not Repairing Tent Damage
Even small tears or holes in your tent can have significant consequences if left unrepaired. These openings can let in cold air, rain, and pesky bugs, compromising the comfort and safety of your camping adventure.
By neglecting to repair tent damage, you risk exposing yourself and your belongings to the elements. A tear can gradually worsen over time, especially if subjected to wind, rain, or rough handling. This can lead to more extensive damage, making repairs more challenging and costly in the long run.
Maintaining Tent Functionality through Repairs
Repairing tent tears and broken poles is essential for maintaining the overall functionality of your tent.
Adhesive patches or tape can effectively repair small tears in tent fabric, ensuring a tight seal that prevents water ingress and drafts. It is advisable to clean the damaged area before applying the patch to optimize adhesion. Alternatively, tears can also be sewn using a needle and thread specifically designed for outdoor gear repairs.
When it comes to broken tent poles, splinting and sleeving techniques can provide stability and support, allowing you to continue using the tent without compromising its structural integrity.
Preventing Further Damage to the Tent
By addressing tent damage promptly, you can minimize the risk of additional harm and extend the lifespan of your tent.
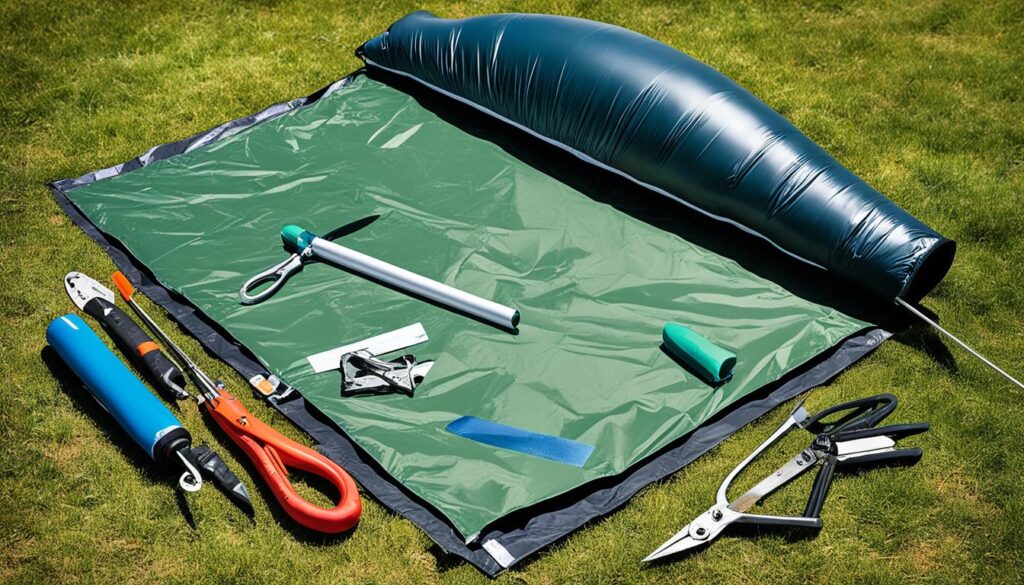
Regularly inspect your tent for any signs of tears or pole damage, especially before and after each camping trip. If you notice any issues, prioritize repairs to avoid further deterioration. It is recommended to carry a repair kit with you during your camping adventures, containing essential tools such as adhesive patches, tape, and spare pole sections.
In addition to repairs, taking proactive measures can prevent tent damage in the first place. Be mindful of the terrain where you set up your tent, clearing the area of sharp objects and potential hazards. Properly stake and tension your tent to minimize stress on the fabric and poles. These small steps can go a long way in preserving the quality and functionality of your tent.
Repairing tent tears and broken poles should be a priority for any camper or outdoor enthusiast. By promptly addressing any damage, you can ensure that your tent remains a reliable shelter for years to come, allowing you to enjoy countless memorable camping experiences.
Conclusion
In conclusion, repairing a puncture in your inflatable tent is a straightforward process that involves patching or taping the damaged area. By following the recommended steps and using suitable repair materials, you can ensure a proper and secure fix. Additionally, having spare air tubes on hand and performing proactive maintenance can greatly contribute to preventing punctures and prolonging the lifespan of your tent.
Regularly checking the air pressure and inspecting the tent for any signs of damage are essential practices that should be incorporated into your routine. By doing so, you can identify potential issues early on and address them promptly, avoiding any potential interruptions to your outdoor adventures.
Remember, a well-maintained inflatable tent can provide you with years of reliable and enjoyable use. By taking the necessary precautions and being prepared, you can confidently embark on your camping trips knowing that your tent is in good condition and ready to keep you comfortable and protected from the elements.
Recommended
- BEST BED TENT TO BLOCK OUT LIGHT FOR SLEEP
- BED TENT FOR TRAVEL: SLEEP COZY ON-THE-GO
- INDOOR BED TENT FOR CAMPING COMFORT & FUN

Meet Noah, the soul behind “Best Inflatable Tent” and a true wanderer at heart. Living the van life, Noah has turned his passion for exploring the great outdoors into a lifestyle, earning his living through organizing group travels that bring people closer to nature. With years of firsthand experience in the wild, Noah’s expertise in selecting and utilizing inflatable tents is unparalleled. Through this blog, he shares his profound knowledge and practical tips to help fellow adventurers find their perfect outdoor shelters. Noah’s commitment to delivering genuine, tested insights has made him a trusted authority in the camping community. Join him on this journey to discover the best inflatable tents that make the great outdoors feel like home.