Have you ever dreamed of having your own cozy hideaway right in your bedroom? A place where you can escape, read a book, or simply relax? Well, it’s time to make that dream a reality with a bed tent! But wait, you might be wondering, how exactly do you make a bed tent? Whether you’re a parent looking to create a whimsical tented bed for your child or an adult wanting to add a touch of magic to your sleeping space, this step-by-step guide will show you just how easy it is to make your own bed tent.
From choosing the perfect fabric to installing your bed tent, we’ve got you covered. Discover creative bed tent ideas, learn DIY instructions, find the right materials and hardware, and even explore the world of upcycling fabrics for your one-of-a-kind bed tent creation. Let’s dive in and unleash your inner creativity!
Key Takeaways:
- Discover how to make your own bed tent and transform your bedroom into a cozy hideaway.
- Explore creative bed tent ideas, from whimsical designs for kids to personalized styles for adults.
- Follow step-by-step instructions to create a bed tent using basic sewing and carpentry skills.
- Learn how to choose the right fabric and hardware for your bed tent to achieve the desired look and functionality.
- Find out how to install your bed tent securely and create a beautiful and inviting sleeping space.
Creative Bed Tent Ideas
Bed tents offer a world of imagination and adventure. Whether you’re looking to create a magical castle or a whimsical camping experience, the possibilities for creative bed tent ideas are endless. These unique hideaways can be made to suit any style or theme, making them perfect for kids and adults alike.
For kids, turn their bed into a fairytale castle with a bed tent fit for a prince or princess. Choose fabrics in vibrant colors and patterns, and adorn the tent with glittering stars or a crown-shaped canopy. Your little ones will feel like royalty every night as they drift off to sleep in their enchanted hideaway.
If your child is more of an outdoor enthusiast, transform their bed into a cozy camping tent. Use earthy tones for the fabric and add fun camping-themed accessories like toy lanterns, sleeping bags, and stuffed animals. They’ll have a blast pretending to camp under the stars right in their bedroom.
Homemade bed tents also provide an opportunity to unleash your creativity and showcase your personal style. Experiment with unique fabrics, patterns, and textures to create a bed tent that perfectly complements your décor. Whether you prefer a minimalist look or a bold and vibrant design, the choice is yours.
From Princess Castles to Outer Space Adventures
Get inspired by your child’s favorite storybooks, movies, or hobbies to design a bed tent that sparks their imagination. Create a princess-themed bed tent complete with tulle curtains, fairy lights, and a crown-shaped canopy. Or take them on an intergalactic journey with a bed tent featuring glow-in-the-dark stars, moon-shaped pillows, and space-themed bedding.
For a more whimsical touch, consider adding unique accessories like dream catchers, bunting flags, or personalized name signs. These small details can truly make the bed tent feel like a special and personalized space.
Remember, the key to creative bed tent ideas is to let your imagination run wild. Don’t be afraid to think outside the box and experiment with different fabrics, colors, and themes. The result will be a one-of-a-kind bed tent that reflects your creativity and brings joy to your little ones every night.
Bed Tent DIY: Step-by-Step Instructions
Making a bed tent is a fun and rewarding DIY project that can be accomplished with basic sewing and carpentry skills. Whether you’re looking to create a simple canopy-style tent using curtains or a more elaborate structure using wood and fabric, this section will guide you through the step-by-step process of making your own unique bed tent.

Determine Your Design and Style
The first step in creating a bed tent is to determine the design and style that best suits your preferences. Are you looking for a cozy, enclosed tent or a more open and airy canopy-style tent? Consider factors such as the size of your bed, the overall aesthetic of your bedroom, and your personal taste when choosing a design.
Gather the Necessary Materials and Tools
Once you’ve decided on the design, it’s time to gather the materials and tools needed for your bed tent project. Depending on your chosen design, you may need fabric, rods or wood, adhesive hooks or brackets, and basic sewing and carpentry tools. Make a list of all the materials and tools required, ensuring you have everything before starting.
Follow Step-by-Step Instructions
With your design and materials in hand, it’s time to follow the step-by-step instructions to create your bed tent. These instructions will vary depending on the specific design you’ve chosen, so be sure to follow the directions carefully. If you’re using curtains, you’ll need to measure and cut the fabric to fit your bed. If you’re constructing a more elaborate structure, you’ll need to assemble the wood or rod frame, attach the fabric, and secure it properly.
Tip: Take your time when following the instructions and double-check your measurements before cutting or attaching the fabric. Precision is key to ensure a beautifully crafted bed tent.
By following these step-by-step instructions, you’ll be able to create your own unique and cozy bed tent. Whether you’re making it for yourself or as a special surprise for a loved one, the process is both enjoyable and rewarding. So grab your materials, get creative, and start crafting your dream bed tent today!
Choosing the Right Fabric and Hardware
When making a bed tent, the fabric and hardware you choose play a crucial role in creating the desired look and functionality. The fabric selection sets the tone for the overall ambiance of your bed tent. Consider using light and sheer fabrics like voile or gauze, which create a dreamy and romantic atmosphere. On the other hand, if you prefer a cozy and luxurious feel, opt for richer fabrics like velvet or brocade.
It’s also essential to think about the function of your bed tent. If you want to block out light and create a private space, selecting a heavier fabric can provide the necessary opacity and seclusion.
Now, let’s talk about the hardware. To effectively hang your bed tent, you’ll need rods, hooks, or tracks. When choosing hardware, it’s crucial to consider the weight of your fabric and ensure the hardware can support it adequately. Opt for sturdy rods or tracks that will provide a secure attachment for your bed tent.
Remember, the fabric and hardware you select will greatly influence both the appearance and functionality of your bed tent. Take your time to choose the perfect combination that aligns with your vision and needs.
Example Fabrics:
“I chose a light and airy voile fabric for my bed tent to create a whimsical and dreamy feel. The delicate drape of the fabric adds an ethereal touch to my sleeping space.”
Example Hardware:
“I opted for sturdy metal rods with decorative finials to hang my bed tent. The rods provide a secure base for the fabric and add an elegant touch to the overall design.”
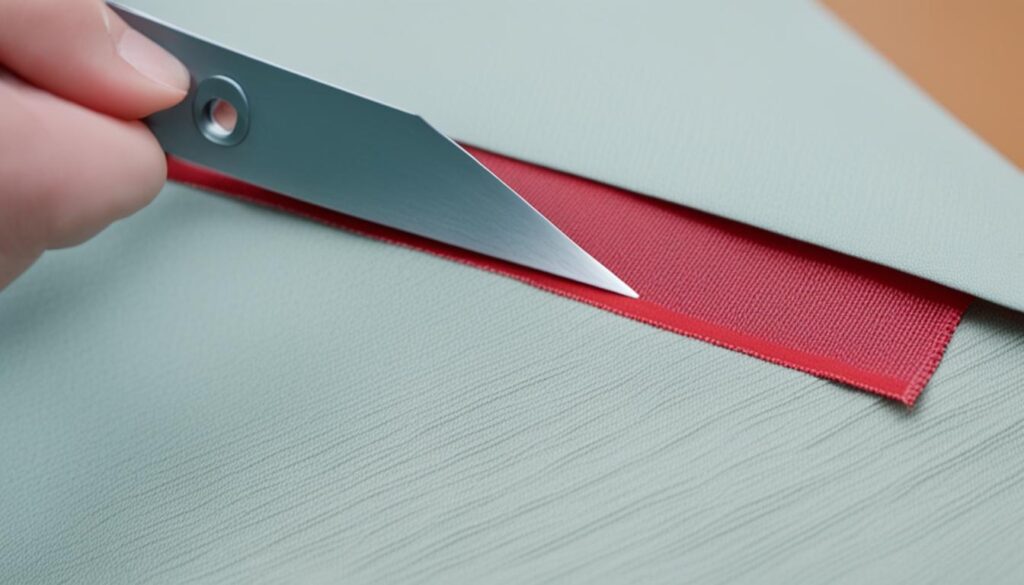
To get a visual idea of how fabric and hardware choices can transform your bed tent, take a look at the image below:
Installing Your Bed Tent
Installing a bed tent is an important step to ensure that it is secure and functional. Follow these bed tent installation steps to set up your cozy haven:
Step 1: Choose the Right Hardware
Before you begin, consider the type of bed tent you have and the hardware required for installation. For rod-based or track-based bed tents, ensure that you have the appropriate rods or tracks for hanging. If your bed tent uses hooks, make sure you have sturdy hooks that can support the weight of the fabric.
Step 2: Follow Manufacturer’s Instructions
Regardless of the type of hardware you’re using, it’s essential to carefully read and follow the manufacturer’s instructions for proper installation. These instructions will provide guidance on positioning, attachment methods, and weight limits.
Step 3: Measure and Cut Fabric
Measure the height of your ceiling and the width of your bed to determine the right length for your fabric. Use a ladder to access the installation area safely, and work slowly and carefully to avoid any accidents. Adjust the fabric as needed to ensure a proper fit and an attractive bed tent.

Step 4: Securely Attach the Fabric
Attach the fabric to the chosen hardware, making sure it is properly secured. For rod-based bed tents, slide the fabric onto the rods, ensuring an even distribution. If you’re using hooks, make sure they are placed securely in the ceiling or wall. For track-based bed tents, follow the instructions on how to hang the fabric onto the tracks.
Step 5: Adjust and Test
Once the fabric is attached, step back and evaluate the overall appearance of your bed tent. Make any necessary adjustments to ensure it looks visually appealing. Gently shake or tug on the fabric to test its stability and ensure that it is securely attached. This will help prevent any accidents or fabric slippage while using your bed tent.
By following these bed tent installation steps and hanging tips, you can create a cozy and enchanting sleep space that will make bedtime a dreamy experience.
Upcycling Fabrics for Your Bed Tent
If you’re looking for a sustainable and budget-friendly option for your bed tent, consider upcycling old fabrics. Sheets, blankets, pillowcases, and even tablecloths can be repurposed into a beautiful and unique bed canopy. Upcycling fabrics for bed tent not only helps reduce waste but also allows you to add a personal touch to your sleeping space.
When choosing fabrics for your bed tent, look for interesting patterns, textures, and colors that will create a visually appealing canopy. Consider using fabrics with playful prints for a child’s bed tent, or opt for more elegant designs for an adult’s canopy. By repurposing old fabrics, you can create a one-of-a-kind bed tent that perfectly suits your style and preferences.
To transform your old fabrics into a bed canopy, start by cutting and sewing the materials to fit your desired canopy style. Whether you prefer a simple draped design or an elaborate four-poster bed crown, the possibilities are endless when it comes to DIY bed tent ideas. Get creative with different sewing techniques and embellishments to make your bed tent truly unique.
Conclusion
Making your own bed tent is an enjoyable and creative project that allows you to add a personal touch to your sleeping space. By following the step-by-step instructions and carefully selecting the fabric and hardware, you can easily create a cozy and inviting bed tent that suits your style and preferences.
Whether you’re making a bed tent for yourself or for a child, the possibilities for design and customization are endless. You can choose from simple canopy-style tents using curtains or opt for more elaborate structures with wood and fabric. Additionally, by upcycling old fabrics, you can create a sustainable and budget-friendly bed tent with unique patterns and textures.
So, gather your materials, unleash your creativity, and embark on the exciting journey of making your own bed tent. Sweet dreams await in your personalized and cozy hideaway!
Source Links
- https://collectivegen.com/2022/08/whimsical-tented-kids-bed/
- https://desertchica.com/ikea-kura-bed-hack/
- https://amerisleep.com/blog/how-to-make-a-bed-canopy/

Meet Noah, the soul behind “Best Inflatable Tent” and a true wanderer at heart. Living the van life, Noah has turned his passion for exploring the great outdoors into a lifestyle, earning his living through organizing group travels that bring people closer to nature. With years of firsthand experience in the wild, Noah’s expertise in selecting and utilizing inflatable tents is unparalleled. Through this blog, he shares his profound knowledge and practical tips to help fellow adventurers find their perfect outdoor shelters. Noah’s commitment to delivering genuine, tested insights has made him a trusted authority in the camping community. Join him on this journey to discover the best inflatable tents that make the great outdoors feel like home.